What is pretreatment and why is it mandatory before dyeing?
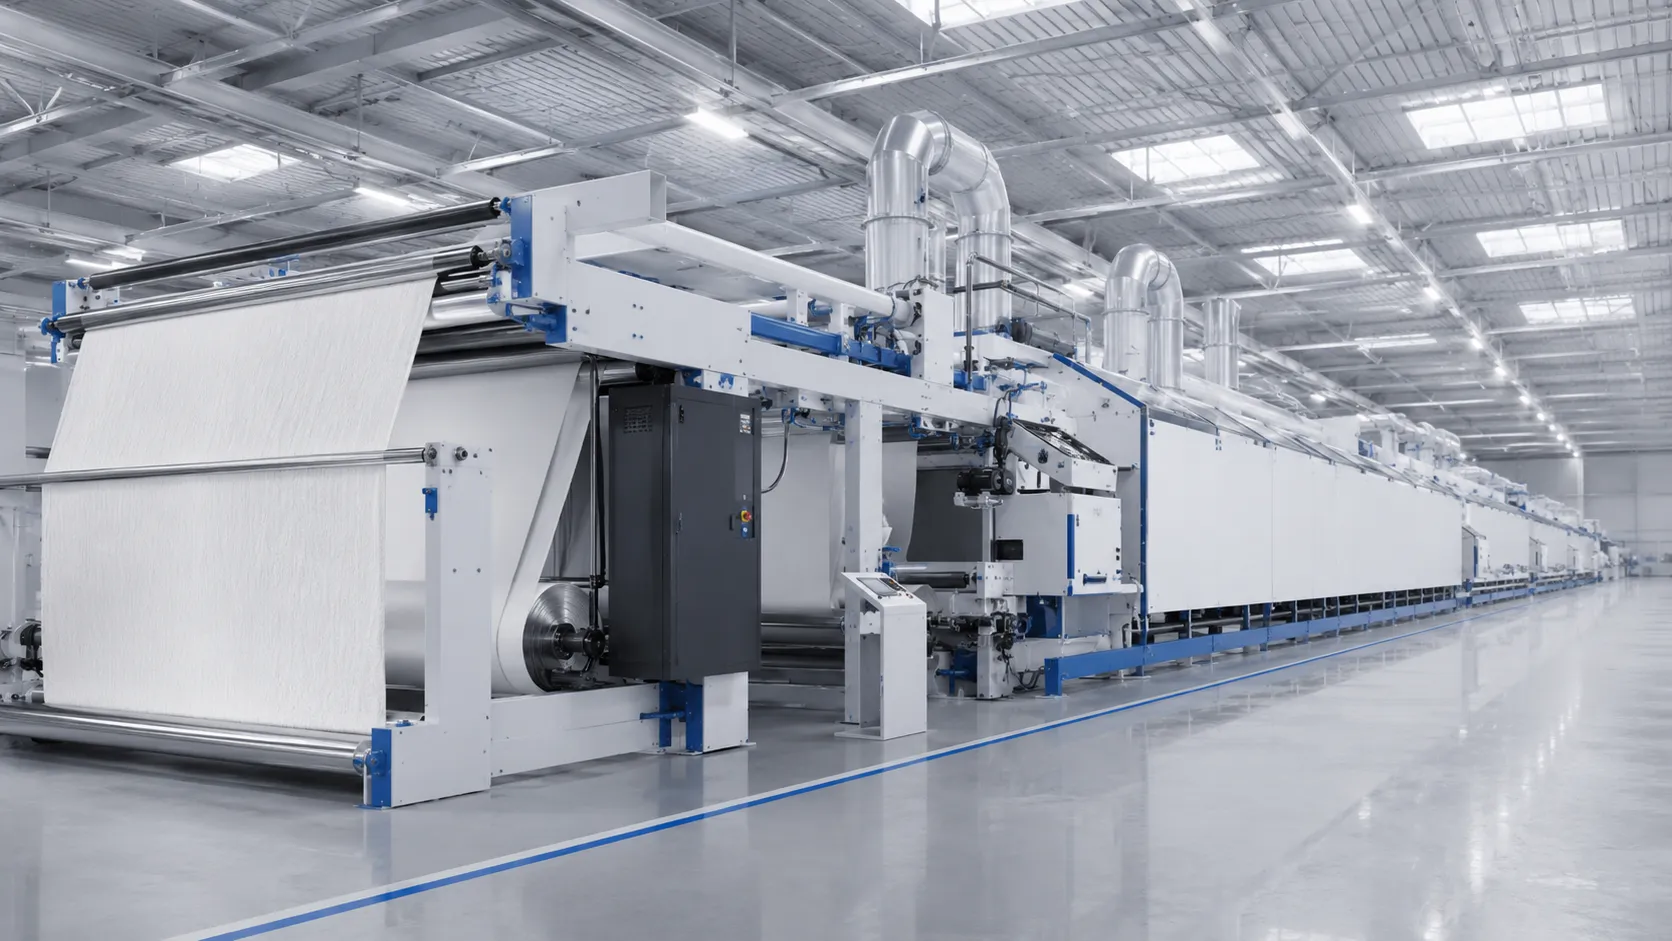
Fabric fresh off the loom or knitting machine is called greige fabric. The cotton fibre naturally contains wax, pectin, protein and minerals; and during spinning and knitting it picks up lubricants, size and dust. The common property of these residues is that they form a hydrophobic barrier that prevents water and the dye liquor from penetrating into the fibre. If this barrier is not removed before dyeing, the dye cannot bond at the surface and the result is patchy and low in fastness.
Pretreatment is therefore the "invisible half" of dyeing. No matter how well reactive or disperse dyeing is formulated, if the underlying preparation is not uniform, the dyeing will not be uniform either. When a single coordinator manages pretreatment and dyeing through the same vetted contract partner with the same water and the same process control, batch-to-batch consistency improves markedly.
What does desizing do and why is it the first step?
Size is a coating applied, particularly on woven fabrics, to prevent warp yarns from breaking on the loom. Although knitted fabrics do not carry size in the classical sense, the paraffin and knitting oils on the yarn form a similar barrier; for this reason an equivalent cleaning/washing step is applied in knits too. The purpose of desizing is to reduce this film layer into water-soluble fragments and remove them from the system by washing.
The most common method is enzymatic desizing using amylase enzymes that break down starch-based size. Synthetic sizes such as PVA are removed by hot washing or by an oxidative method. If desizing is inefficient, the chemicals in the following steps cannot reach into the fibre; this comes back as staining in bleaching and dyeing. This is why it is the first rung in the sequence.
How does singeing affect surface quality?
Fibre ends scatter light at the fabric surface, making the colour look matt and "hairy"; they also blur edge definition in printing. In singeing, the fabric is passed at high speed over a gas flame or a hot plate; the surface fuzz burns off instantly while the fabric itself does not stay in contact long enough to be affected by the heat. Immediately afterwards a quench bath follows to extinguish any spark remaining in the fabric; this bath is often combined with the desizing step.
Singeing is not mandatory for every product; it is omitted on fabrics where a hairy, lofty and soft handle is wanted. However, it is a step that makes a difference on products that call for flat-colour lustre, crisp printing and low pilling. Using combed yarn reduces the amount of fuzz but does not eliminate it entirely; singeing closes that gap.
Why does bleaching determine the cleanliness of the colour?
The natural colour of cotton is not pure white; due to flavonoids and other pigments it has a cream-beige tone. When dyed over this natural colour, light and vivid shades in particular deviate from the target and vary from batch to batch. The task of bleaching is to chemically break down this natural pigment and render it colourless, creating the same whiteness base across the entire run.
In modern facilities the standard is hydrogen peroxide (H₂O₂) based bleaching; compared with chlorine-based methods it has a lower environmental load and is more controlled on the fibre. Bleaching is often combined in the same bath as the prewash/scouring. Because over-bleaching can reduce fibre strength, the balance of dose, temperature and time is critical for colour consistency and fastness. If optical whiteness is wanted, an optical brightening agent (OBA) is added after this step; however, on fabric to be dyed, OBA is managed deliberately so as not to affect colour measurement.
How does mercerization improve lustre, strength and dye uptake?
The raw cotton fibre is bean/kidney-shaped in cross-section and its surface reflects light irregularly. In mercerization, when the fibre is treated with caustic soda under tension, its cross-section swells to take on a rounder, more even form. This morphological change translates into three practical benefits: a silky lustre, because the surface reflects light more evenly; higher strength, because the internal ordering of the fibre increases; and markedly higher dye uptake, because the accessibility of dye-binding sites on the fibre increases.
This increase in dye uptake is a direct cost and vividness advantage: mercerized fabric reaches the same depth of shade with less reactive dye, and the colour appears deeper. Mercerization is not carried out on every product; it can be omitted when premium lustre, high strength or very vivid shades are not the target. At the end of the process the caustic must be neutralized and thoroughly washed; otherwise residue leads to pH drift and unevenness in the subsequent dyeing.
The purpose and output of the pretreatment steps in one table
| Step | Purpose (what it removes / changes) | Output (gain for dyeing) |
|---|---|---|
| Desizing | Breaks down size, paraffin and knitting oils | Penetration of subsequent chemicals into the fibre is opened up |
| Scouring / washing | Removes natural wax, pectin and protein residues | Uniform hydrophilicity, even wetting |
| Singeing | Burns off the short fibre ends (fuzz) on the surface | Smooth, lustrous surface; crisp printing; low pilling |
| Bleaching | Oxidizes and decolourizes the fibre's natural pigment | Uniform white base; clean light/pastel shades |
| Mercerization | Swells and rounds the fibre cross-section with caustic | Lustre, strength, high dye uptake, stability |
The logic of the sequence matters: first the blocking films (size, oil, wax) are removed, then the surface is corrected (singeing), then the base is cleaned (bleaching) and, where required, the fibre structure is improved (mercerization). A loss of uniformity at any of these stages is measured directly as ΔE deviation in dyeing.
How do pretreatment faults show up in dyeing quality?
The table below links typical pretreatment deviations to their visible result in dyeing and to the measurement/control point. This mapping makes it easier to trace back where a quality problem began.
| Pretreatment problem | Result seen in dyeing | Control / preventive measure |
|---|---|---|
| Incomplete desizing / oil residue | Oily stains, areas that dye light | Hydrophilicity (drop absorption) test |
| Uneven bleaching | Clouding, shade variation in light tones | Whiteness index measurement, sampling along the run |
| Over-bleaching | Strength loss, tearing | Tensile/tear strength test |
| Caustic residue after mercerization | pH drift, uneven reactive fixation | pH measurement, neutralization verification |
| Generally non-uniform pretreatment | Failure to hit the ΔE<1 target | ΔE check by spectrophotometer |
In practice, pretreatment quality is judged fastest by the hydrophilicity (drop absorption) test: a drop of water placed on the prepared fabric should be absorbed within seconds. If absorption is slow or uneven, the fabric is not yet ready for dyeing. This simple check prevents surprises at the lab-dip and fixation stages. After the entire pretreatment line, when the dyeing recipe is set, the method choice in the dyeing and printing guide is also clarified against this prepared base.
Frequently asked questions
Can ΔE<1 colour consistency be achieved without pretreatment?
No. Pretreatment makes the greige fabric uniform, hydrophilic and ready to take up dye; without this preparation, a ΔE<1 target is not realistic. No matter how well a reactive or disperse dye is formulated, if the underlying preparation is not uniform, the dyeing will not be uniform either. Most dyeing faults actually start in pretreatment.
What is the correct sequence of pretreatment steps and why is it done in this order?
The sequence is: desizing, scouring, singeing, bleaching and, if needed, mercerising. The logic is this: first the barrier films (size, oils, waxes) are removed, then the surface is smoothed, then the ground is cleaned, and finally the fibre structure is improved if needed. If size remains, the subsequent chemicals cannot penetrate the fibre, which is why desizing is the first step.
Are singeing and mercerising mandatory for every product?
No, both can be skipped depending on the product type. Singeing is skipped on hairy, bulky fabrics where a soft handle is desired, but it makes a difference on products that need solid-shade clarity, sharp prints and low pilling. Mercerising is not carried out when premium lustre, high strength or very vivid tones are not the goal. The other steps (desizing, bleaching) are required as basic preparation.
Which bleaching method is used and what is the risk of over-bleaching?
The standard method is hydrogen peroxide (H₂O₂) based bleaching; it has a lower environmental load than chlorine-based methods and is more controlled on the fibre. Bleaching is often combined with scouring in the same bath. Because over-bleaching can reduce fibre strength, the balance of dose, temperature and time is critical for colour consistency and fastness; tensile/tear strength testing is used for control.
How does mercerising affect dye consumption and cost?
Mercerised fabric reaches the same depth of shade with less reactive dye and the colour appears deeper. When cotton is treated with concentrated caustic soda under tension, the fibre cross-section swells and becomes round; this delivers a silky lustre, higher tensile strength, increased dye uptake and better dimensional stability. At the end of the process the caustic must be neutralised and thoroughly rinsed out; residues cause pH shifts and unlevelness in dyeing.
How can we quickly check whether a batch is ready for dyeing?
The fastest method is the hydrophilicity (drop absorption) test: water dropped onto the prepared fabric should be absorbed within seconds. If absorption is slow or uneven, the fabric is not yet ready for dyeing; this usually points to incomplete desizing or oil residue. This simple check prevents surprises at the lab-dip and fixation stages. The whiteness index for bleaching and pH measurement for caustic residue are complementary checks.